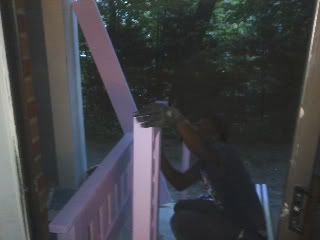
Well it's been a busy week or so. Hubby decided to help me out while I was working, so we got a lot done. I puttied lots of holes and he sanded and did all the painting and putting on clear coat :).
Here he is, hard at work :)
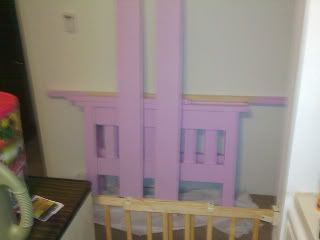
And that night this is what was in the hallway :)
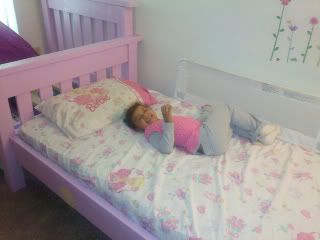
I had a pretty busy weekend with the munchkin, and apparently, she was just as tired as I was:

So we didn't get much done this weekend. But after work yesterday I got some energy and went to work assembling this thing while hubby was in class.
I don't have any pictures of the hilarious ways I got this monster together but you would be cracking up laughing as I propped up one board on a dresser or another hanging off the existing bed - all so I could line everything up :). But I got all the pieces of the supports and rails assembled so only needed help on the final assembly. If course I thought I was doing great because I was able to predrill all the holes for the giant 6" boolts that would hold this all together - I even got the screws started in the holes so all hubby would have to do is hold in place while screwing together.
Yea that isn't quite what happened :). He came home early from school and we tried to get it assembled but unfortunately I lined the holes up and centered them on the 4x4 rather then centering them where the edge of the 2x8 would go. So when I screwed the first screw in, it went directly next to the wood i wanted to screw into lol.
Needless to say that was not helpful so hubby got all the screws out and re-did the pre-drilling in the right spots and got the screws started, and then we worked together to line it up and get it all screwed in, the right way this time.
We decided to screw a couple of the bed slats in to make it more secure since I don't trust the single screw on each 2x2 at the end, they just were't as tight as bed #1's were so we figured better safe then sorry. Then we have some wood putty in strategic places from that and my original drilling error.
But we are essentially done because all that is left is sanding the puttied areas and also the guard rails that are sitting in my dining room, and then painting and clear coating again.
So here is the (almost) finished product - close enough because she was able to sleep on it last night :)
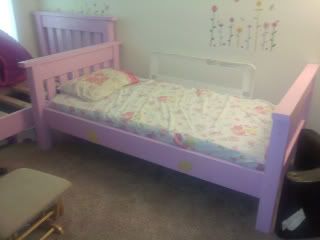
And when we do all the painting for the rest of the stuff, the new bookshelf from a previous post will get a paint touch up and then get hung up as well. It came out really well if I do say so myself, but you'll see a pic of that when it's all done :)
I think the bed came out pretty sturdy - what do you think?
If we tried that on a walmart type bunk bed I bet the headboard would have shook like crazy.
The taller bunk in the back will be where her "play fort" will be with the princess bed tent you see in the pic. It attaches to the mattress (once we buy one lol).
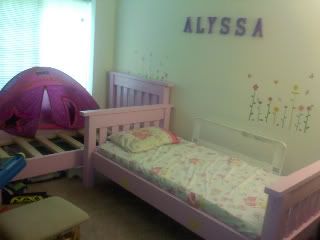
I had to explain once again why both beds were on the floor and told her when she is bigger the short one will stand on top of the tall one and then I'd build the ladder so she could reach. She seemed to understand :).
I think she likes her new big girl bunk bed :)
:)





No comments:
Post a Comment