Be sure to scroll down and select "older posts" to view previous posts or follow links on the right under "Blog Archive". Also feel free to comment or leave suggestions/tips/advice in the comments on any post, follow me on google, and/or share my blog with friends.

Friday, May 21, 2010

Project 1 & 2 - COMPLETE! Really this time!

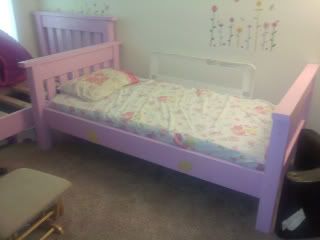
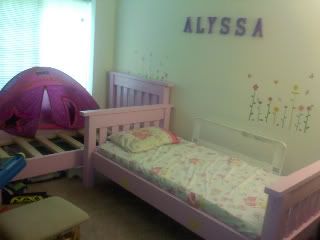
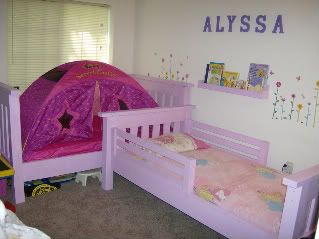
Hi :) Well the conclusion to my first projects has come - the bunk bed is done and the bookshelf is also done. The bunk bed is not set up like a bunk, just 2 twins until the munchkin gets older, but it's still done, just no ladder. :).

What do you think? If you click on it, you can see it extra big (normally you can't with my blog pics cause I use photobucket cause it gives me more space)
Photobucket

All in all it went well. It was a giant pain in the butt not having my own space to work in and having to coordinate between Joey's house and what I could accomplish on my dining room table and my back patio. Next project we definitely cannot use spray paint for a clear coat because some jerk above us in the building complained to management about the fumes. lol.

I had a few snags along the way, but everything is pretty square and level, and we have a lot of scraps that hubby was able to make into a couple planters, so that's good.

Now that the beds are done he can then concentrate on his project, the aquarium stand that he's building at a friend's house.

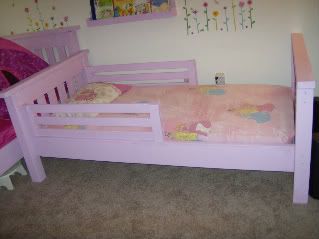
Here are some more pics of the bed and then you'll see what is on deck for the next project :). (If you click these they won't get any bigger lol)

The "top" bunk & bookshelf
Photobucket

Her "secret castle" bed tent for her "bottom bunk"
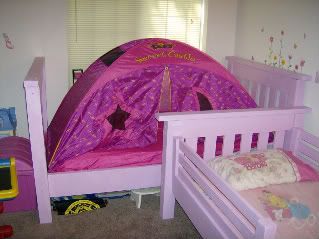
Photobucket

Bookshelf
Photobucket

And lastly, can you guess who's room this is? lol. No I didn't make the letters, they were from Walmart and the flowers and butterflies are the cling stick on ones from Dollar Tree. :)
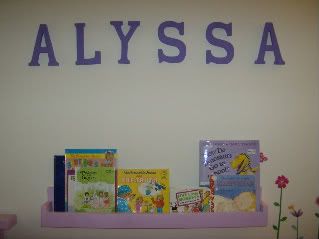
Photobucket

Thank you Ana from Knock-Off Wood for the plans and all the help along the way :)

Knock-Off Wood

Now, as for my next project, I'd really love to make a new desk. Here is what i'm currently working with:
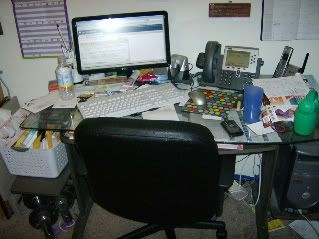
Photobucket

Clearly it's not working lol. I need more nooks and crannies to store crap and more desk space to put stuff, like Alyssa's toys she likes to put on my desk for some unknown reason and maybe my phone and monitor lol.

This would be a more expensive project so I can't start it yet, but I'm thinking maybe a mixture of a couple of Ana's collections. I really like the modular office system minus the corner desk (don't have the space) and I like the hutch like parts of the classic storage wall system.

Here's a couple shots of the modular set. I want one CPU base and one drawer base and then just a straight desktop, no corner. I really like the secretary desk but it's just too big. (Click here to get to the plan)
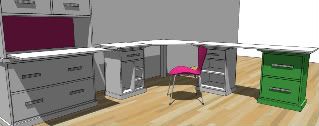
Photobucket

And here is the hutch style top for the classic storage system desk or media wall (Click here for plans)
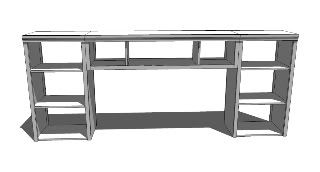
Photobucket

But I also need a solution for a printer table and for some books so I may make another alteration and make a 3rd or 4th bottom cabinet that sits sideways. Maybe I'll take the bottom half of the secretary desk and spin it at a corner and make a deep cubby out of it or something.

But anyway, that's the next project for me, when I get the time and the funds. I don't have a table saw and I'm kinda not all that enthusiastic about using a circular saw to cut a straight line - I'm not known for having a steady hand and I don't trust home depot or lowe's to cut anything. But we will see :)
Tuesday, May 18, 2010

Bed 2 DONE (almost) :-D

HI :)

Well it's been a busy week or so. Hubby decided to help me out while I was working, so we got a lot done. I puttied lots of holes and he sanded and did all the painting and putting on clear coat :).

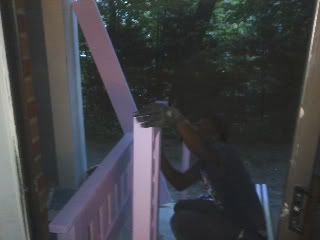
Here he is, hard at work :)
Photobucket

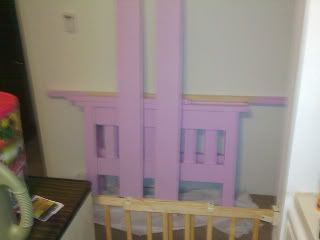
And that night this is what was in the hallway :)
Photobucket

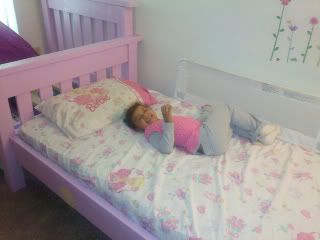
I had a pretty busy weekend with the munchkin, and apparently, she was just as tired as I was:
Photobucket

So we didn't get much done this weekend. But after work yesterday I got some energy and went to work assembling this thing while hubby was in class.

I don't have any pictures of the hilarious ways I got this monster together but you would be cracking up laughing as I propped up one board on a dresser or another hanging off the existing bed - all so I could line everything up :). But I got all the pieces of the supports and rails assembled so only needed help on the final assembly. If course I thought I was doing great because I was able to predrill all the holes for the giant 6" boolts that would hold this all together - I even got the screws started in the holes so all hubby would have to do is hold in place while screwing together.

Yea that isn't quite what happened :). He came home early from school and we tried to get it assembled but unfortunately I lined the holes up and centered them on the 4x4 rather then centering them where the edge of the 2x8 would go. So when I screwed the first screw in, it went directly next to the wood i wanted to screw into lol.

Needless to say that was not helpful so hubby got all the screws out and re-did the pre-drilling in the right spots and got the screws started, and then we worked together to line it up and get it all screwed in, the right way this time.

We decided to screw a couple of the bed slats in to make it more secure since I don't trust the single screw on each 2x2 at the end, they just were't as tight as bed #1's were so we figured better safe then sorry. Then we have some wood putty in strategic places from that and my original drilling error.

But we are essentially done because all that is left is sanding the puttied areas and also the guard rails that are sitting in my dining room, and then painting and clear coating again.

So here is the (almost) finished product - close enough because she was able to sleep on it last night :)
Photobucket

And when we do all the painting for the rest of the stuff, the new bookshelf from a previous post will get a paint touch up and then get hung up as well. It came out really well if I do say so myself, but you'll see a pic of that when it's all done :)

I think the bed came out pretty sturdy - what do you think?


If we tried that on a walmart type bunk bed I bet the headboard would have shook like crazy.

The taller bunk in the back will be where her "play fort" will be with the princess bed tent you see in the pic. It attaches to the mattress (once we buy one lol).
Photobucket

I had to explain once again why both beds were on the floor and told her when she is bigger the short one will stand on top of the tall one and then I'd build the ladder so she could reach. She seemed to understand :).

I think she likes her new big girl bunk bed :)
Photobucket

:)

Thursday, May 13, 2010

Footboards: DONE!

Bed #2 is well underway. After getting all the cuts done last week, every couple days I've tried to get some assembly work done. Hubby helped out a bit by lining everything up for one of them too and I got to play with all the glue and clamps again - and yep I used the giant manly man weights again lol.

Hubby and I did a bit of teamwork on these footboards to get the sanding all done. We finished sanding tonight and got the sides and tops put on just in time for our neighbors not to hate us lol, it was only 930 PM :). Much better then the midnight that we finished bed #1.

Hopefully tomorrow the rails, slat supports, and the slats can be sanded. Then we can paint and clear coat. Maybe by this weekend we'll be ready for that. We are going on a road trip on Saturday to VT though, so we may not have time. We will see.

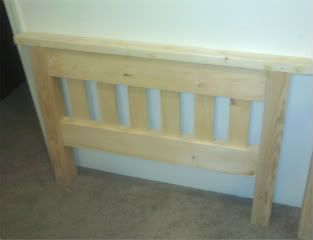
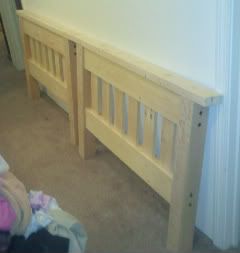
Here is one of the completed footboards:
Photobucket

And while it may seem weird that I did 2 footboards, it makes sense when you know that the original plan I'm working with from Knock-Off Wood is creating 2 twin beds and each twin normally has a tall headboard and a short footboard. but in order to convert it into a bunk bed - the bottom bunk uses 2 headboards and the top bunk uses 2 footboards. So the completed pink/purple bed is the one with the 2 headboards, and this one we're almost done with is the top bunk.

Here they are lined up in my hallway, excuse the giant pile of laundry lol.
Photobucket

That's it for now :). Stay tuned!

Friday, May 7, 2010

My own plan, well sorta!

Well I realized today that I didn't have enough 1x4's cut for the 2nd footboard so I had to make another trip to Joey's after work for some time with Mr. Miter Saw.

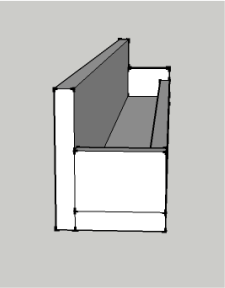
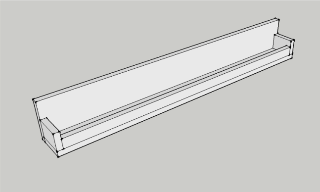
After I made all my cuts I went through my scraps because I knew we wanted to get rid of Alyssa's bedside table since it's huge and unnecessary and put up a small wall bookshelf, kinda like this one designed by Ana at Knock off Wood.

Originally I planned to use Alyssa's old boxspring since it had a bunch of decent boards in it and reclaimed wood (read: free) is always good. But I had so many good scraps left over from the headboards and guard rails that I said screw it.

I didn't feel like pulling out the jig saw, I just wanted something simple. So I looked at what I had and threw together my own plan, inspired by Ana's plan.

I cut all the wood already and now i just have to screw it all together when I get a free minute :) Took 5 mins to cut and honestly i didn't measure anything lol, I just based it all on the largest pieces I had and estimated. I lined a few pieces up to other pieces to make sure it was even cause I am OCD and cannot have a lopsided bookshelf, lol. But I have no idea how big it is.

But for the sake of creating a plan, I estimated it in case anyone else wants to build one :).

Shopping list:
1x6x6 (or shortest one you can find, scraps are best)
1x4x6 (same as above)
1x2x6 (same as above)
1 or 1 1/4" screws, or could use glue and brads or finishing nails

Cut List:
1x6x36" - Back piece (or 48" or 24" or however big you want it)
1x4x36" - Bottom piece
2 - 1x4x2" - Left and Right sides
1x2x34.5" - Front bottom piece


Directions:

1. Place the 1x6 on it's end and attach the 1x4 bottom into it at a right angle.

2. Attach the left and right end pieces by screwing or nailing up from the bottom of the 1x4 into the pieces making sure they are flush with the ends.

3. Slide the 1x2 into the space between the 2 end pieces and slide it so it's flush with the 1x4 and attach it through the left and right ends as well as a couple screws/nails coming up from the bottom.

4. Use wood filler if needed, sand, and finish with paint or stain.

Sorry I didn't do pics for each step but this is super simple so check out the pics and I'm sure you can see how to attach them all. If you have questions just ask :).

Photobucket

Photobucket

Thank you again Ana for the inspiration!

I certainly hope I wouldn't need a disclaimer for a simple bookshelf, but just to CYA, I made no express or implied warranties on the design laid out here as to weight capacities or how to attach it to your wall or anything of the sort, as I am new to this and you would be crazy to think I know what I am doing yet. Build at your own risk like I do and hope for the best and send pics if you do!

Thanks :)

Saturday, May 1, 2010

Voila! Bunk 1 is Complete!

Well as promised, I have more pictures. We were pretty busy all during vacation, and Friday was no exception. All day long was spent sanding and painting the new boards (the ones I cut wrong previously) and clear coating everything.

I also had to re-paint one of the headboards because the walmart clear coat turned yellow when it was applied. But I reapplied the pink and on my 2nd trip of the day went to Lowe's and got Valspar clear coat and it was so much easier to spray and gave a much smoother finish, almost the same price too so definitely worth it.

After realizing I got the wrong screws for the bed rail brackets I made the 3rd trip to Lowe's and by the time I returned we got started on assembly.

The center frame was a pain to get straight but we did it and got everything attached and marked off the headboards to get the hardware on them to attach the rails - lifted up the rails - only to find out the hardware will not work with the simple bed lol. I probably should have checked that first based on the drawings but hard to picture it all until it's together. So we had to unscrew everything off the headboards and then decide to just say screw it, no I really mean to screw it lol. We had some screws I used for the posts so we used those and just screwed the headboards on.

Unfortunately the screws were only 4.5" long and we wanted a bit more security for the bed then an inch of metal holding it up, even if we tripled them up. So we put it all together with the 4.5's and decided I'd be making yet another Lowe's trip in the morning to get the 6 inchers. The 4.5's would hold up for one night and we weren't about top stop considering it was approaching midnight and the munchkin had to go to bed sooner or later and I'm sure my neighbors had enough of hearing the drill lol.

So that all being said, I now have to return some hardware to Rockler, and many screws to Lowe's, but we have a completed bed. I got the long screws today and hubby attached them while the munchkin ad I went to a kid's bday party.

We didn't use a boxspring, instead I cut 6 slats out of 2x4s, 38.5" each and to make the frame a bit lighter for moving, we just pushed them into place instead of screwing them. Also I didn't use 2x6s like the plans had, we wanted to not bother with a boxspring but I didn't was the mattress to stick up too high, so I went with 2x8s.

I have to say that my child is quite smart - she has known that mama was building her a bunk bed for quite some time and always asks if I'm done yet and I keep telling her not yet - so what's the first thing she says when we show her her new "bunk bed"? Listen and find out (picture is useless, it was night with bad lighting so it's mainly an audio clip):


That's right - she didn't jump and down all excited and happy - nope, my smart little chicky was confused because she knew a bunk bed was 2 beds and she only had one lol. Once we explained that mama can only build one at a time, then she understood and we got the expected response (at the end):


Time for some pictures!! She loves it and keeps climbing all over it, definitely no top bunk for her for a while, lol, it will end up being on the right side of the room and take up a lot of room but we'll make it int some kind of toy storage play house when it's not in use or something :).

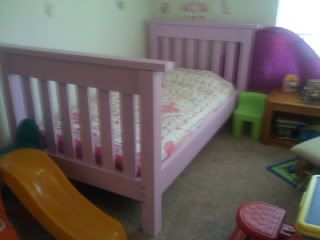
Ta Da!
Photobucket

Always likes to measure herself :)
Photobucket

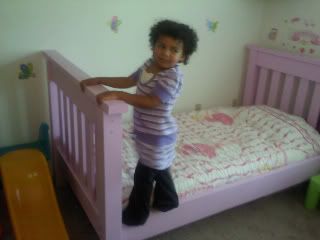
No she's not this tall - she's standing on a slide behind her bed:
Photobucket

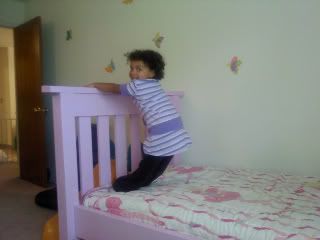
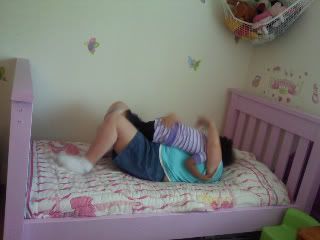
Testing it's strength
Photobucket

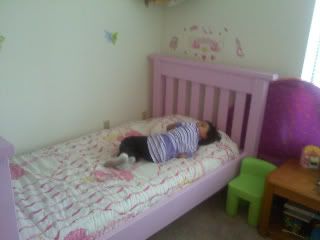
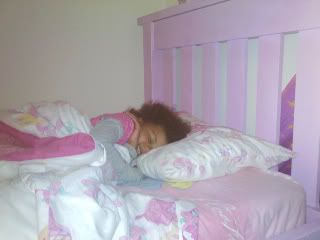
Pretending to sleep
Photobucket

Supports a mama too! Alyssa decided it was time to jump on me right when the shot snapped lol
Photobucket

Tight rope anyone?
Photobucket

And just the same one from yesterday because it's just cute
Photobucket

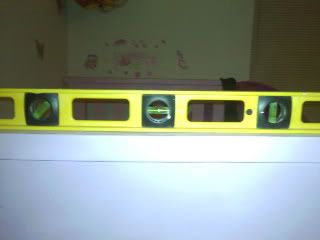
and this one is just for the guys who doubted a chick's ability to use power tools :). Yes I do know how and yes, I own a level :-p.
Photobucket

Knock-Off Wood

Now my hands are sore and my back aches, but it's done and I can relax the rest of the weekend, bed #2 can wait til I have a free lunch break or weekend free :).

Special thanks to Ana at Knock-Off Wood for the plans and encouragement and of course a big thank you goes out to hubby because he supported me doing this project solo and kept the munchkin out of my hair and as always was the heavy lifter when requested and helped with assembly, especially on his vacation from work :-* :).

Vacation Day 3: Bed #1: DONE!!!!!

This is merely a teaser because the pictures came out kinda dark, but as of midnight, bed #1 is done. Woohoo!! We have to get some longer screws tomorrow to reinforce the rails, but as long as she doesn't jump on it between now and tomorrow afternoon - we should be good :).

Here's your teaser shot - more to come tomorrow!
Photobucket